If you’ve just starting out climbing, you’ve likely noticed that many climbers wrap tape around their fingers. Taping is a simple yet effective technique that can offer protection, support, and sometimes even a little peace of mind when you’re tackling tough problems. In this post, we’ll explore why climbers tape their fingers and how to do it correctly to avoid common pitfalls.
Why Climbers Tape Their Fingers
-
Preventing or Managing Injuries
Climbing places a lot of stress on the hands—particularly the tendons in the fingers. Taping can help reduce strain on delicate finger joints and pulleys by providing extra support and alignment. It’s especially common among climbers healing from small tears or other injuries.
-
Protecting Skin and Calluses
Over time, a climber’s skin develops tougher calluses on the hands and fingers. However, sharp holds or repeated friction can still tear or rip the skin, leading to painful cuts or flappers. A layer of tape can act as a protective barrier on vulnerable areas or for specific holds that have sharps components to them.
-
Supporting Damaged Pulley Tendons
Climbers often deal with pulley sprains or strains (particularly the A2 pulley in the fingers). A specific taping method called “H-taping” or “X-taping” can help immobilize or support these pulleys, reducing pain and the risk of further injury.

How to Tape Your Fingers Properly
The way you tape will depend on your specific needs—whether you’re taping for injury prevention, protection, or to support a specific injury. Below are a few techniques and tips:
1. The Basic Support Wrap
- When to use it: General finger support or minor skin protection. This way of taping is typically found when you are protecting your pads from a specifically sharp hold or are feeling a slight tweak and need that mental support to get through the boulder or route. Some folks will even tape their wrist for partially tweaky problems.
- Steps:
- Start by wrapping a single layer of athletic tape around the finger joint or the area where you feel stress.
- Overlap the tape slightly—about half the width of the tape—on each revolution so there are no gaps.
- Don’t wrap it too tight. You should be able to bend your finger comfortably.
- Pro tip: Check circulation by gently pinching the tip of your finger. The skin should turn white and then quickly return to its normal color.
2. H-Taping or X-Taping for Pulley Support
- When to use it: To support a sprained or strained tendon in the finger (commonly the A2 pulley).
- Steps:
- Cut a strip of tape about 6 to 8 inches long (depending on your finger size).
- Tear or cut a small slit in the middle of each side of the tape so the tape can wrap around both sides of the finger joint. But leaving a section in the middle connected, it should end up looking like and X.
- Anchor one end of the tape below the affected joint and cross it over the top of the finger (forming an “X” or “H” shape).
- Secure the other end of the tape above the joint.
- Adjust the tension so the finger still has mobility but feels supported.
- Add an addition layer of tape around the top and bottom of the joint so the tape doesn’t fall off.
- Pro tip: Make sure the tape isn’t too tight and you can still comfortably flex and extend your finger. Overly tight tape can reduce blood flow and limit your range of motion.
For a more extensive article on taping for tendon and pulley injuries check out this post by MATT DESTEFANO, PT, DPT.
3. Taping for a Flapper
- When to use it: If you have a cut, a flapper, or tender skin on your fingertips.
- Steps:
- Clean the wound and remove any loose skin (if it’s safe to do so).
- Add either a dressing or fold in the tape so you don’t place the sticky side of the tape on your wound.
- Wrap tape lightly over the dressing to hold it in place.
- Change the dressing frequently to keep the area clean and aid healing.
4. Taping for a Spilt Tip
- When to use it: If you have a split on the tip of one of your fingers that you are trying to protect from further damage.
- Steps:
-
- Clean the tip with water and soap
- Dry thoroughly; some folks use rubbing alcohol to ensure the area is super dry so the tape holds well.
- Spilt the tape down the middle so it’s thin, about 1/4 inch. Have one piece that is about 2in -3in and another piece that is 8-10in
- With your finger slightly bent, take the 1-inch piece and place it vertically down the finger, starting from just below your crease, over the tip of your finger, and down over your knuckle.
- Take the 6 in piece and starting at the top, wrap around your finger, when tape comes back to the front of your finger you’ll begin to weave the tape diagonally down and then diagonally back up so the tape overlaps and conforms well to your finger shape. Repeat this until your tip is wholly taped.
- You can anchor the tape below your knuckle so it doesn’t pop off your tip.
- PRO TIP: You can use super glue to help the tape stay securely on your tip.
Best Practices for Taping
-
Choose the Right Tape
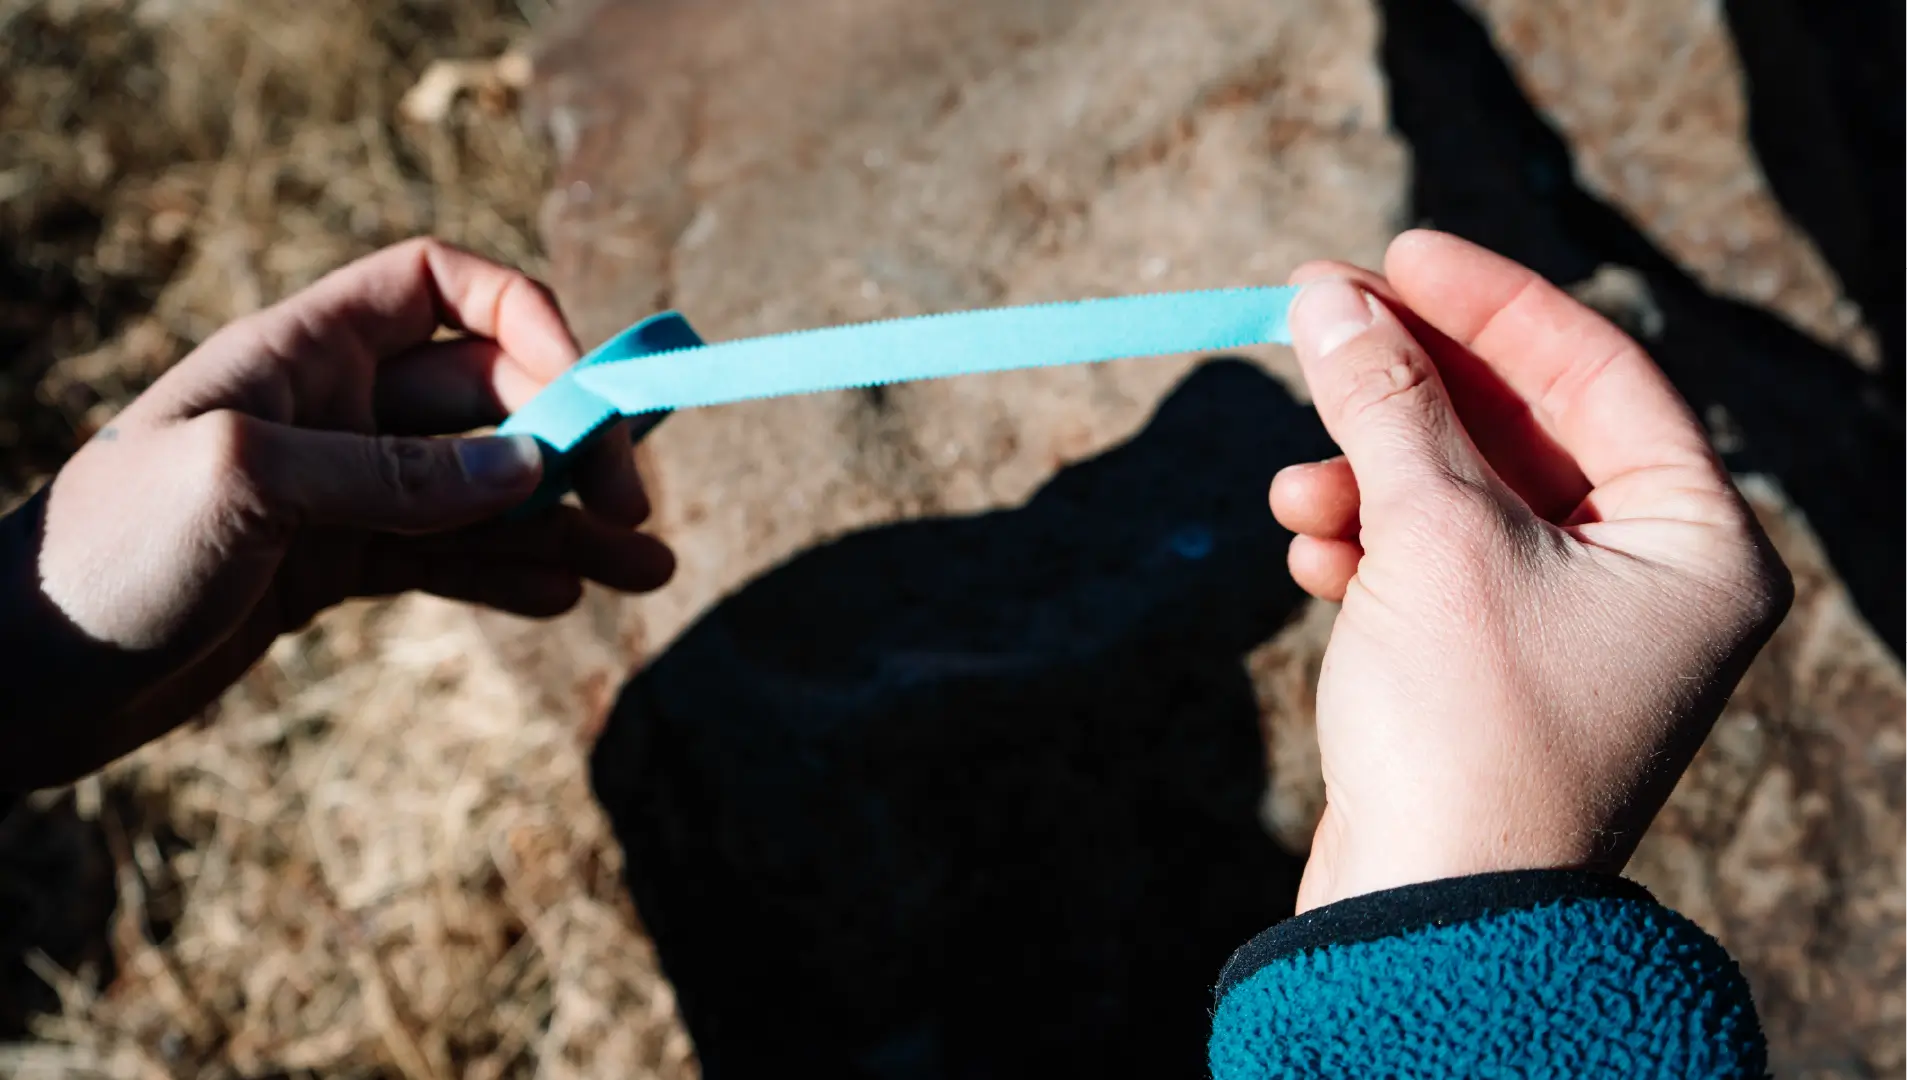
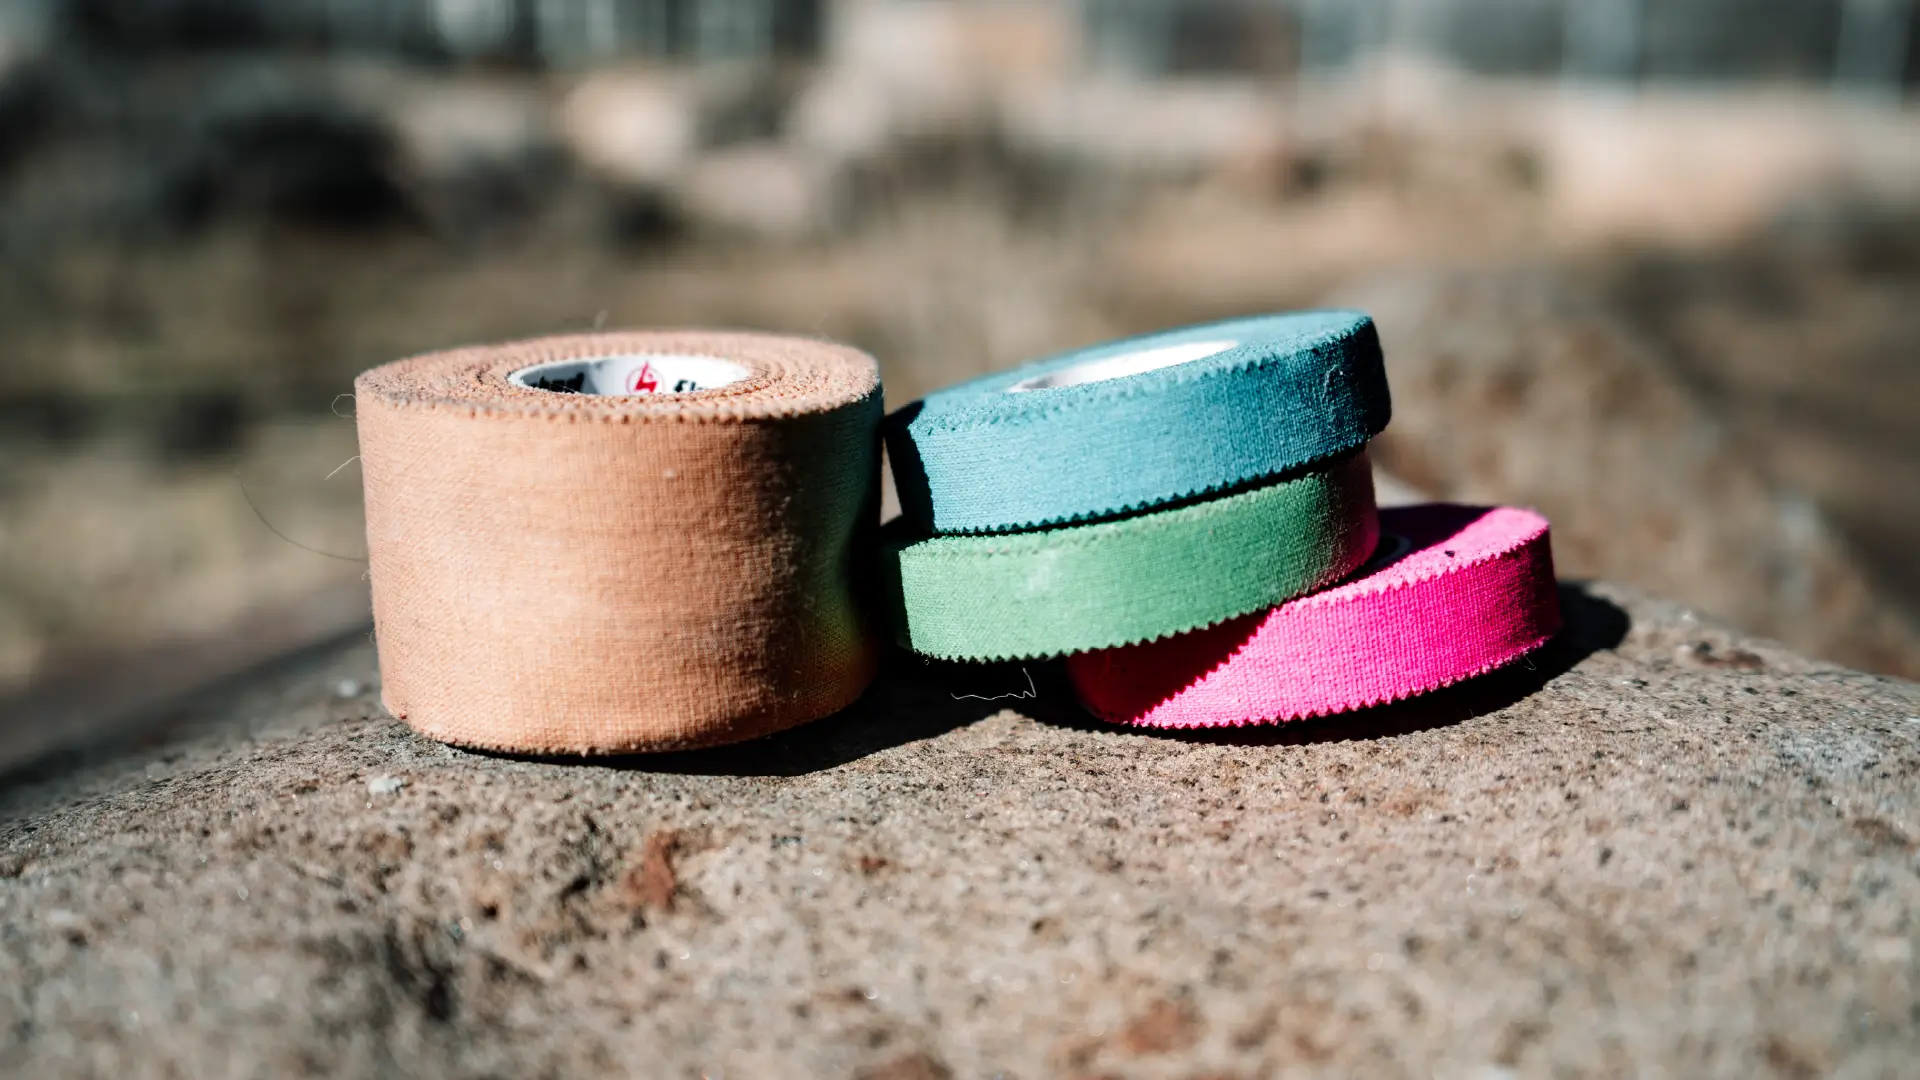
Tape for fingers while climbing is different than other athletic tapes such as KT tape, which is used for pain and inflammation of joints and muscles. Climbing tape is made to not stretch, be easy to tear in multiple directions, and be very sticky so it doesn’t fall off while you are climbing. You’ll also find that it can come in different sizes, like our 38mm and 13mm Finger Tape, designed to be used for different functions both very sticky without leaving residue.
-
Keep It Clean
Dirty or sweaty fingers reduce tape adhesion. Before taping, wash your hands and let them dry thoroughly so the tape can properly stick.
-
Don’t Rely on Tape Alone
While tape can provide support, it doesn’t replace proper rest, technique, or listening to your body. If you’re feeling pain, take a break. Tape is there to help, not to let you push beyond your safe limit.
-
Avoid Over-Tightening
Circulation is crucial. If your finger feels cold, numb, or tingly, remove the tape and reapply it more loosely.
-
Practice Good Technique
Proper footwork, body positioning, and gripping technique will reduce stress on your fingers more than any tape ever can. Warming up the fingers is pivotal in keeping your pulleys and tendons healthy and ready for the load you are about to put them through.
Conclusion
Taping is a valuable skill in a climber’s toolkit. Whether you’re dealing with a minor finger injury or just want extra support on a challenging route, knowing when and how to apply tape can make a big difference in both performance and comfort. The key is to tailor your taping method to your specific needs, always be mindful of circulation, and remember that tape is just part of an overall strategy for healthy climbing.
Climbing is a sport that requires a balance between physical strength, technique, and body awareness. Respect your limits, stay attentive to any warning signs in your fingers, and use tape responsibly. With the right approach, you’ll keep your fingers healthy and ready to conquer the next climb.


