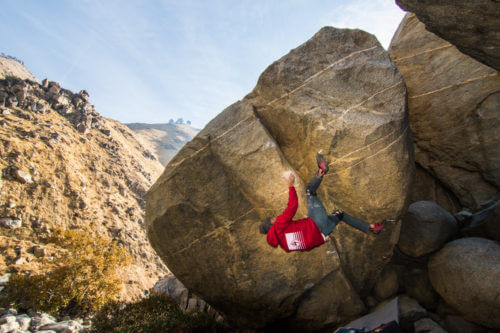
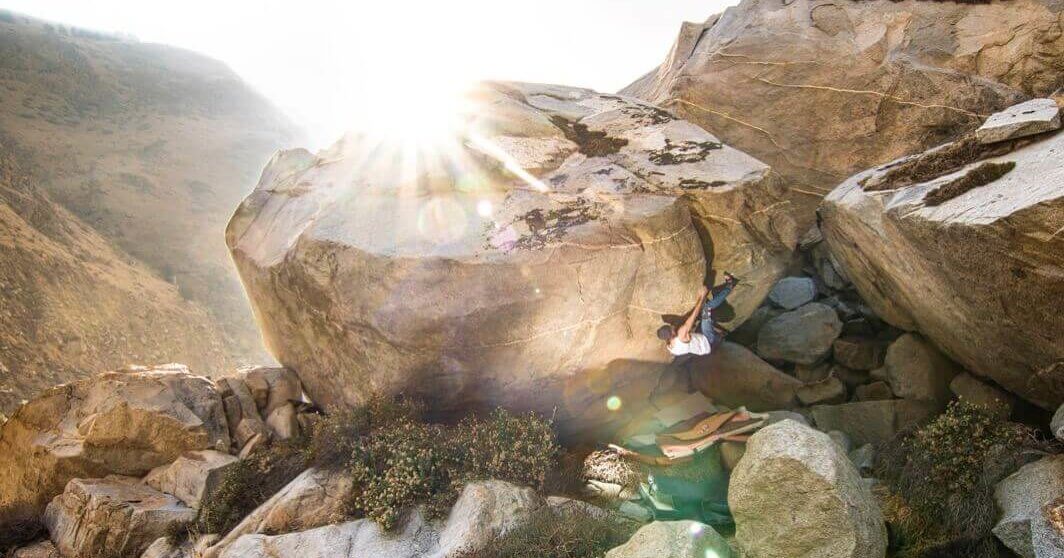
A crowd favorite. Here are some tips on how to use this elusive move efficiently.
When to use:
Some routes and boulders require a kneebar to send. They allow you to swivel around your leg, reach further, and hold onto otherwise bad holds. Using a kneebar allows you to climb a route more efficiently and save energy.
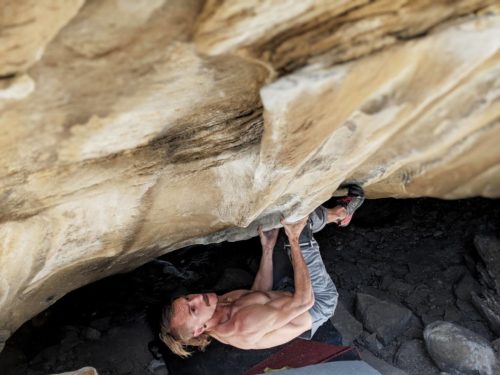
Pumped and need a rest? Kneebar. A kneebar strongly reduces the amount of pressure on the hands, sometimes resulting in a no-hands kneebar (when it is so good you can remove both hands and still remain on the wall). This can allow you to gain back energy, reduce the pump, chalk-up mid-route, and is often the key to sending.

How to use:
Kneebars are best in highly featured stone – think Hueco Tanks – but can be used any type of rock: limestone, sandstone, granite, gneiss, etc. You will need to scope the perspective kneebar. This is dependent on how far the foot is away from where your knee will be placed. This measurement can be described as the Shindex: the distance between the big toe and the top of the knee. You will also need a large surface area to place your knee (though, despite the name, you likely will be using your thigh). The smaller the area for your knee, the more likely the kneebar will blow.
Once you have found where you will place your kneebar, you’ll need to put it into practice. Place the toe and slide the knee into position. You want to kneebar on the meaty part of your thigh and not on your kneecap. This can be at the very end or in the middle of your quadriceps. Sometimes you will need to drop your heel in order to get the knee into place.
Once the knee is in place you will need to engage the leg muscles and point your toe to keep it there. This can include flexing the calf (imagine doing a calf raise) and keeping tension in the glute, quads, and oftentimes core when on an overhang.
Balancing another important aspect to keep in mind. Most of the time, you will need to have one or two other points of contact to act as a ‘tripod’. Sometimes you can even get a double kneebar for ultimate security!
Once you have made the move or moves, you will need to take the kneebar out. Removing a kneebar can sometimes be just as difficult, if not more, than placing it. You have to remember to keep core and foot tension as you slowly remove your knee. If you move too quickly or have too much slack in your core, you’ll pop off the wall.
Safety
Bouldering is inherently dangerous, but adding moves that lock your body into place can make it more dangerous. Do not place a kneebar on your kneecap, as this can result in injury. Be mindful of how you may fall out of the kneebar as this can alter the direction you would normally fall. Also keep in mind how snug the kneebar is and if it will stay if you fall; this is unlikely but not impossible.
Gear
Kneebaring on bare skin will most likely result in a bad time. Some folks have been known to wrap tape around their thigh to avoid this mess, but the most effective and comfortable way is to invest in a kneebar pad. This will improve friction with its rubber top and reduce pain.
The kneebar is a versatile and super fun move! It’s not always the most obvious beta to use, but once you master it you will be looking for kneebars in all your projects!


